Create Your Own Wax Flowers
You can make your beautiful fresh-cut roses last longer than you ever imagined by dipping the open blooms in melted wax! The best time to dip your roses is at the very end of their shelf life–after you have enjoyed their beauty for over a week–when the rose is in full bloom.
I have waxed roses many times over the years using paraffin wax. Now that soy wax is readily available, I decided to give that I try… and I’m glad I did! Soy wax is a completely natural and renewable resource, has a lower melting point, and cleans up easily (with just soap and water). And soy wax is so versatile that you can melt it in the microwave!
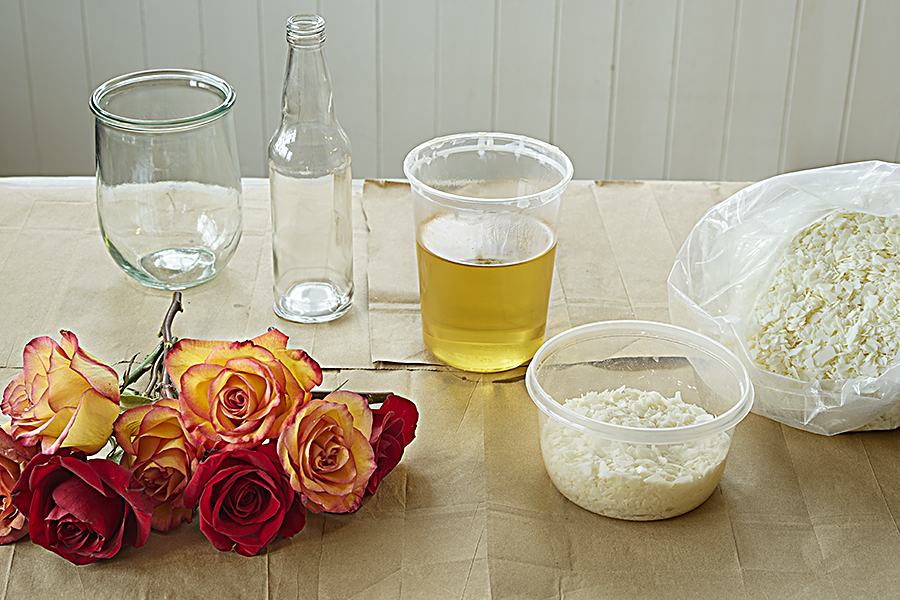
What you need:
- Open roses
- Microwave-safe container
- Soy wax flakes
- Candy thermometer (optional)
- Empty bottles or vases or wax paper
Steps:
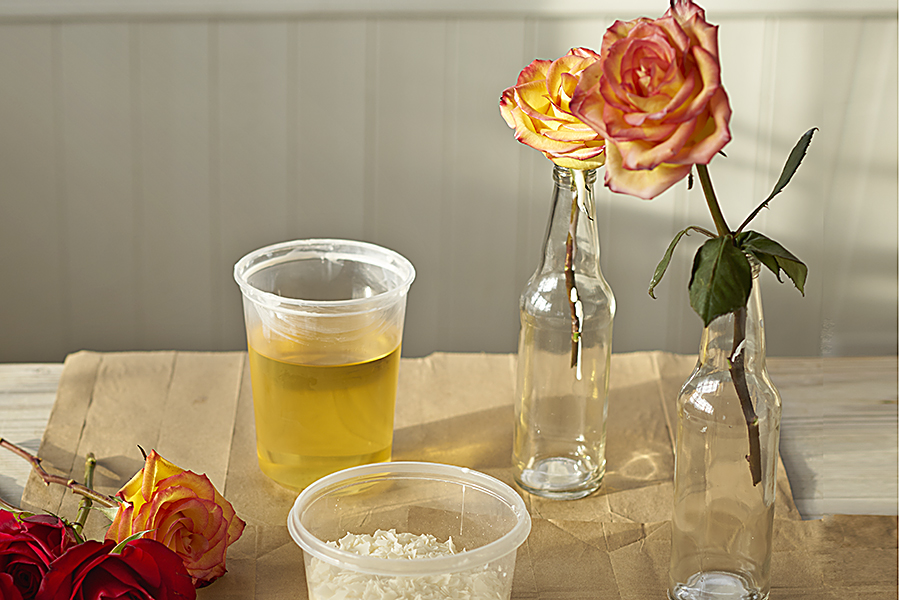
1. Cut the stems of your roses to about 8″-10″ long to make it easy to dip the heads into the wax, then place the stems into your bottle or vase to cool. Be sure to put scrap paper on your work surface, including under the bottles, to catch dripping wax.
2. Fill the microwavable container all the way to the top with the wax flakes and microwave for 2 minutes. After 2 minutes, take the container out of the microwave and stir the melted wax with a disposable plastic spoon. If there is still any white/un-melted wax, return the container to the microwave for another minute and repeat. Also: As the wax melts, you might find that you need to add more flakes. Just go ahead and stir them into the container and continue the melting process.
3. Once all of the wax is melted, you can start dipping. Place the wax container on a protected surface and have your bottle or vase ready to place the dipped roses in for cooling. You can also place the dipped roses on wax paper to cool, but they will keep their shape better if they cool while upright.


No comments:
Post a Comment